By default, there is no client so it will display listing page along with search and Add New Client option.
Search: Based on filter it will display result respectively if it’s present either it will display No Result Found.
Reset – If user have applied search filter then it will be reset the filters.


Registered Office Address:

Save & Exit: After fill all the require details it will save the lead and redirect on Clients listing page.
Save & Next: After fill all the require details it will save the lead and move on next tab Contacts.

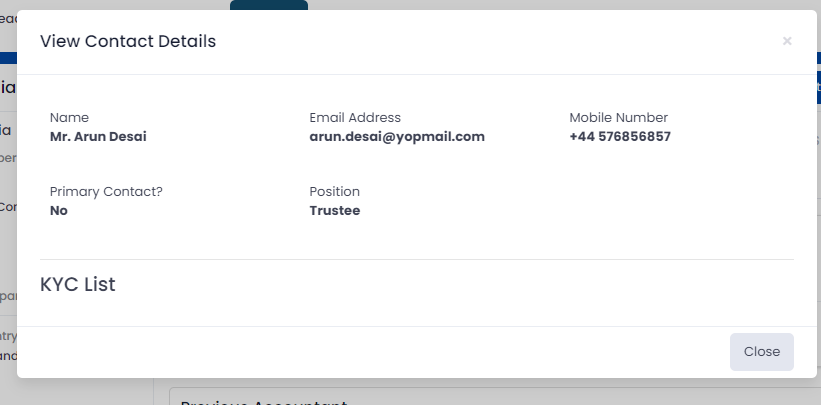
Click on Add Contact button it will open Create Contact form.


Urgent Note: You can add urgent note to remember if is there any urgent for this client. So whenever you select particular client from client field, It will show added urgent notes besides client field.

Save & Exit: After fill all the require details it will save the lead and redirect on Clients listing page.
Save & Next: After fill all the require details it will save the lead and move on next tab Management Accounts.

Accounts Frequency: It will display list of accounts payroll frequency and based on selection it will work.


Save & Exit: After fill all the require details it will save the lead and redirect on Clients listing page.
Save & Next: After fill all the require details it will save the lead and move on next tab Compliance & Deadlines.

Security Details: It will display Company Name, Company Number, Country Of Incorporation, Corporation Tax Number and SIC Code. It will work for staff according to given permission, if not given permission to particular staff or role then it will not see to that staff or role.
HMRC: Edit the fields to update credentials for HMRC.

Payroll Govt Gateway: Edit the fields to update credentials for Payroll Govt Gateway.

CT Govt Gateway: Edit the fields to update credentials for CT Govt Gateway.

VAT Govt Gateway: Edit the fields to update credentials for VAT Govt Gateway.

General Notes: Notes can be add.

Corporation Tax: It will display many field options and based on selection it will work.

Company Secretarial: It will display many field options and based on selection it will work.

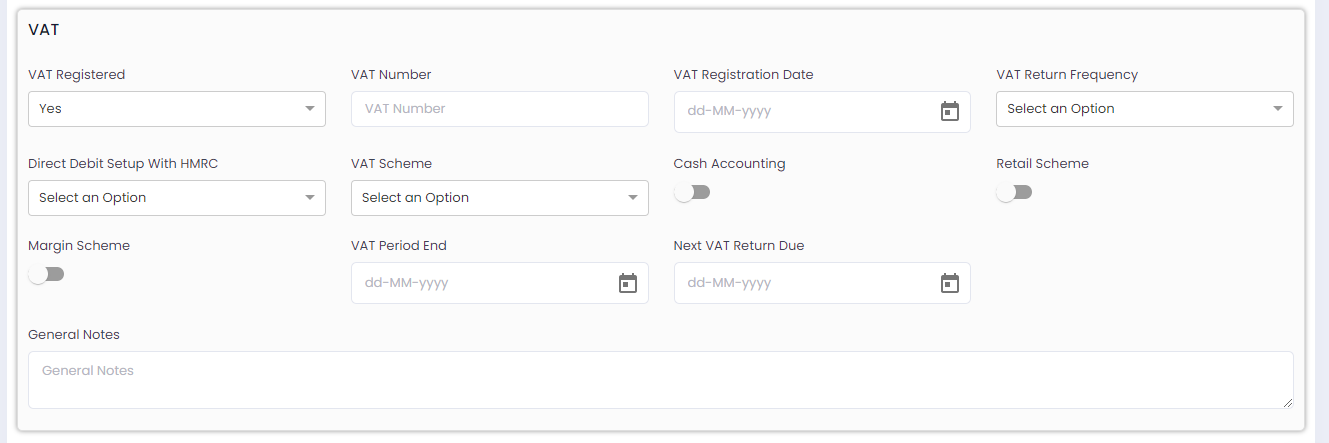
VAT: It will display many field options and based on selection it will work.
Payroll: will display many field options and based on selection it will work.

Save & Exit: After fill all the require details it will save the lead and redirect on Clients listing page.
Edit – It will display the client details and by making require change it will update the client details respectively.
: Click on Client No. will display client details page with Client Info, Internal Ref, Compliance & Deadlines, Services, Notes, SMS, Documents, Workflows and History tabs.
Internal Ref: It will display details of the Internal Ref.

Compliance & Deadlines: It will display all the details of Compliance & Deadlines.

Services: It will display Recurring, Adhoc and Roadmap services when contract approved based on your selection in proposals flow.

User can add Note as well as create task on it. Task will create based on the toggle button selection. If it is active, then it will open task popup when save note.


By default there is no SMS credit so user need to first buy the SMS Credit, it will display Add credit option with different SMS package.
SMS will be send only in 2 steps.
If SMS is sent, then it will display the details on page along with Date/Time.

It will display company name and ID as folder name.

Create Folder + Upload Files – It will be display based on permission given to staff or role.
It can be display download and notes option.
it will allow Move to, Permission, Show Older Version, History, Set Expire Date and Check Out etc. all features will be based on given permission to the staff members or roles.
Move to –Select a folder to Move file.

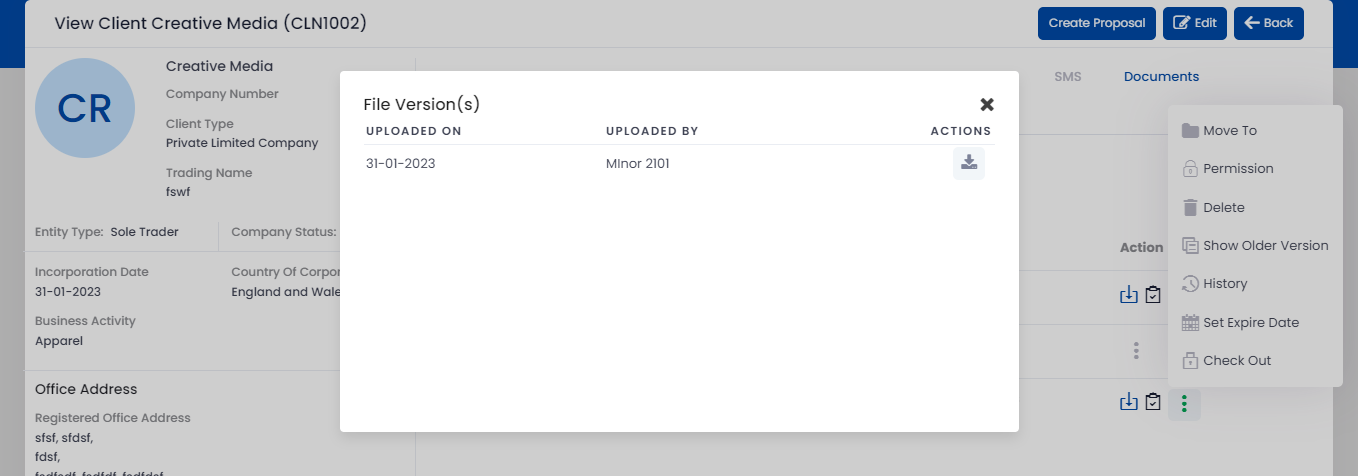
Show Older Version – If you are uploading same file at same location, old file replaces with new file and old file stored as a version.
Permission – Based on selection of role and user permission it will display file to staff and its actions.
By default, there is Deny permission to staff user. Once you allow particular permission to staff or role, it will reflect same in staff/role users.

Expiry Date – It will display expiry date selection, send reminder to client and Send reminder to member. If you selected staff member or client, then email template field will be mandatory to select.

Checkout – It will change the status of document to check in.


Delete – File can be delete if it is not in use anywhere.
Also it will display all the details of file allow to edit file name, add favorites, permission, tags etc.
History – It will display all the actions with search option and display list as performed by user, Module Name, Date, IP Address and Description.

Add to favourite – It will add the document to favourite and also display in Main Documents folder. If you remove particular document from favourite, it will disappear from “Favourites” folder & on existing folder, it will show again with “Add to favourite” label.


Once you remove from favourite flag, it will show again with “Add to favourite” label.

Tags: User can show the tags that have added from settings as well as add new tags from here.

You can add notes for the particular document from Add Note button selection. It will open popup to add note. Already added notes will be shown below “Note:” label.

In workflow tab, if not assigned any workflow then by default, it will show blank listings. If client type is “Private Limited” then practice created particular onboarding flow, then it will auto assigned to that client & will show here in listings. You can edit/delete already assigned workflow.
In workflow listings, it will show particular columns like,
You can assign new workflow by clicking on “Assign New Workflow” button. On button selection, if it has already created workflow then it will open assign workflow popup but if not then, it will show blank popup.

On “Assign New Workflow” button selection, it will open popup. In popup by default it will show “Compliance” workflow type selected. You can change selection by selecting another workflow type.
From “Select Workflow” dropdown, you can select particular workflow which you want to assign to client.
It will show already added details in workflow, you can change it according to your requirements. Once you select “Add Workflow to Client” button, workflow will be assigned to that client & it will show in my tasks page. For staff members, it will show according to assigned. If workflow assigned to this staff member then it will show in my tasks page but if assigned to another staff member then this task will show in “Assigned to Others” page.


For custom workflow, you can set recurring by clicking on “Set” label.

It will open below shared SS popup. You can select particular recurring type from Monthly/Yearly/Weekly. In “Occurs every” field, you can select particular count for which you want set recurring. In “End Date” field, you can select particular end date to stop recurring workflow.
For Ex. If you select weekly recurring type, occurs every 1 week & 28th feb 2023 in end date then this workflow will auto assigned on every 1 week to the staff member till the end date. It will not exceed more than end date. Means created recurring workflow on 1st feb. So it will create 1st custom workflow on 1st feb. after that it will auto create workflow on 8th feb, 15feb, etc. Till 28th feb.

In listings page, it will show created workflow with “Next Start Date” & “Next Due Date”. In “Next Start Date”, it will show next recurring date (given example above) & in “Next Due Date”, if current workflow is ongoing then it will show current workflow’s due date. Once current workflow completed, it will show next workflow’s due date.

History: It will display all the actions with search option and display list as performed by user, Module Name, Date, IP Address and Description. You can track client related logs from here.

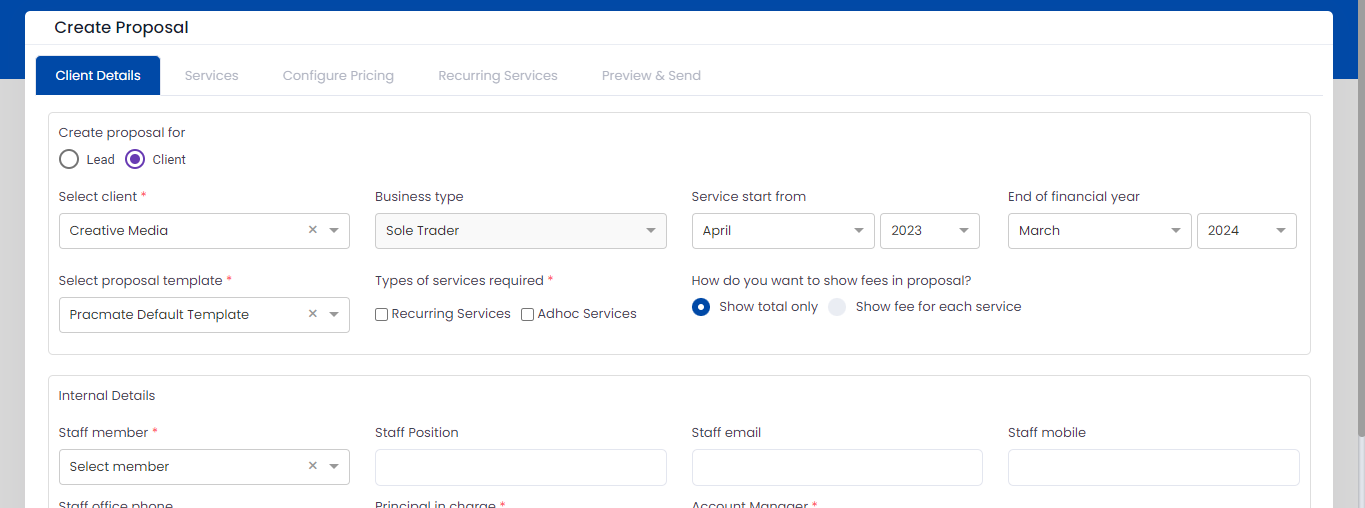
Create Proposal – It will be redirect on Proposal/Contracts page with all the information and display the details based on Lead/Client respectively.